

Getting Started
Not Installed Yet?
Head to the Download & Install page first.
Make Your First Request
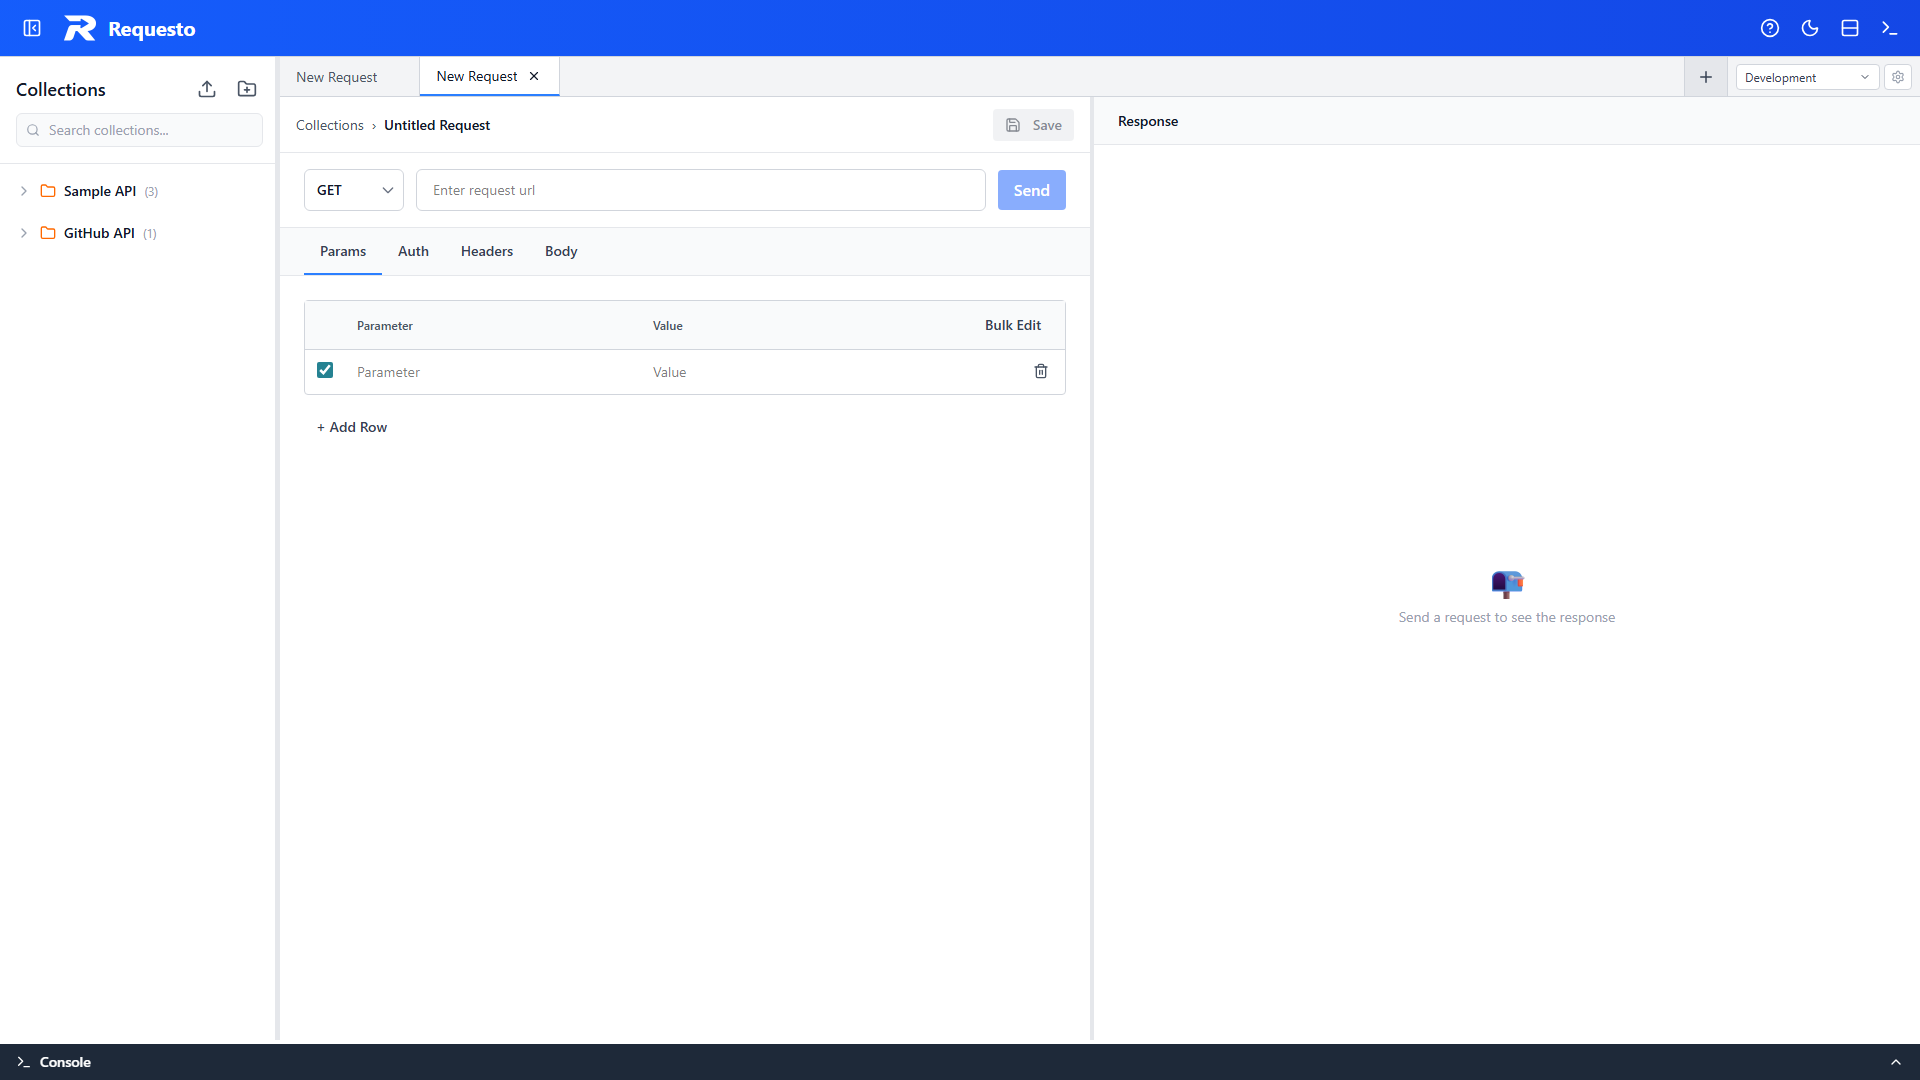
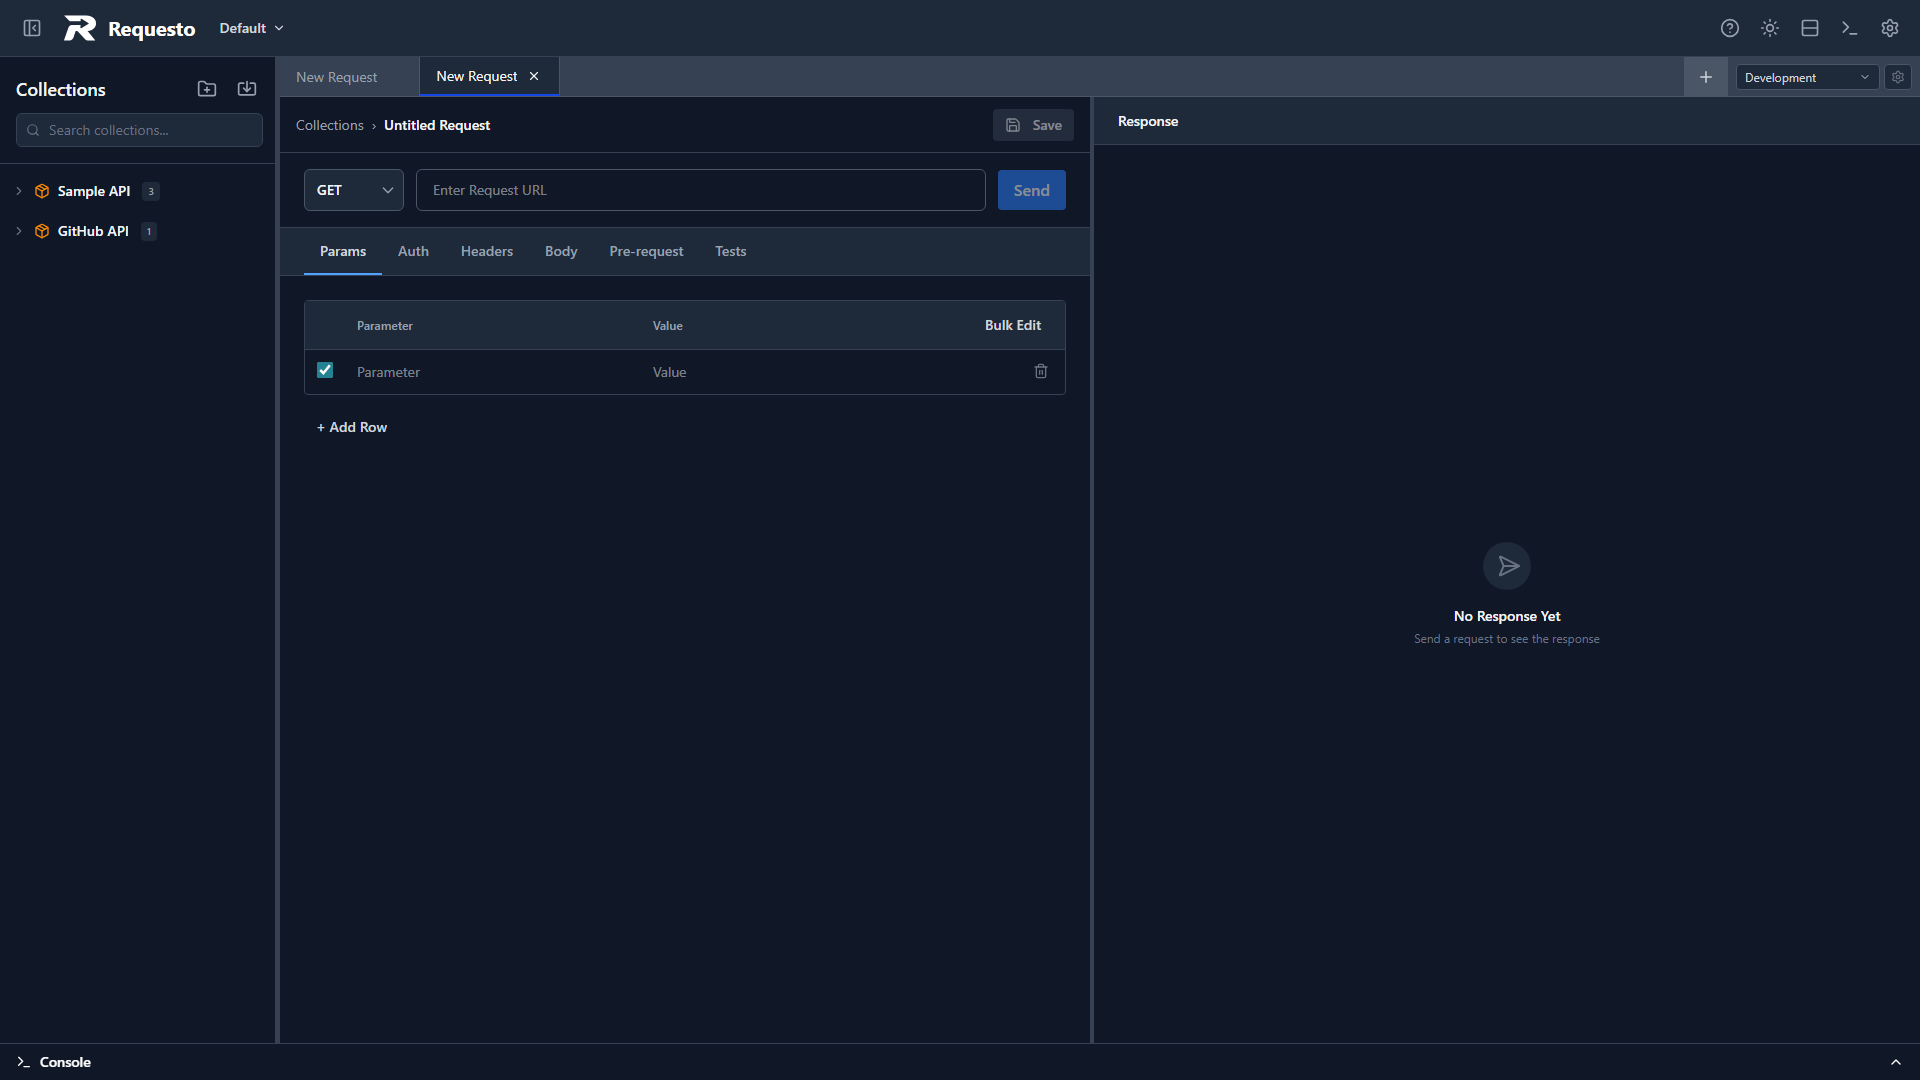
- Open Requesto - you'll see a blank request tab
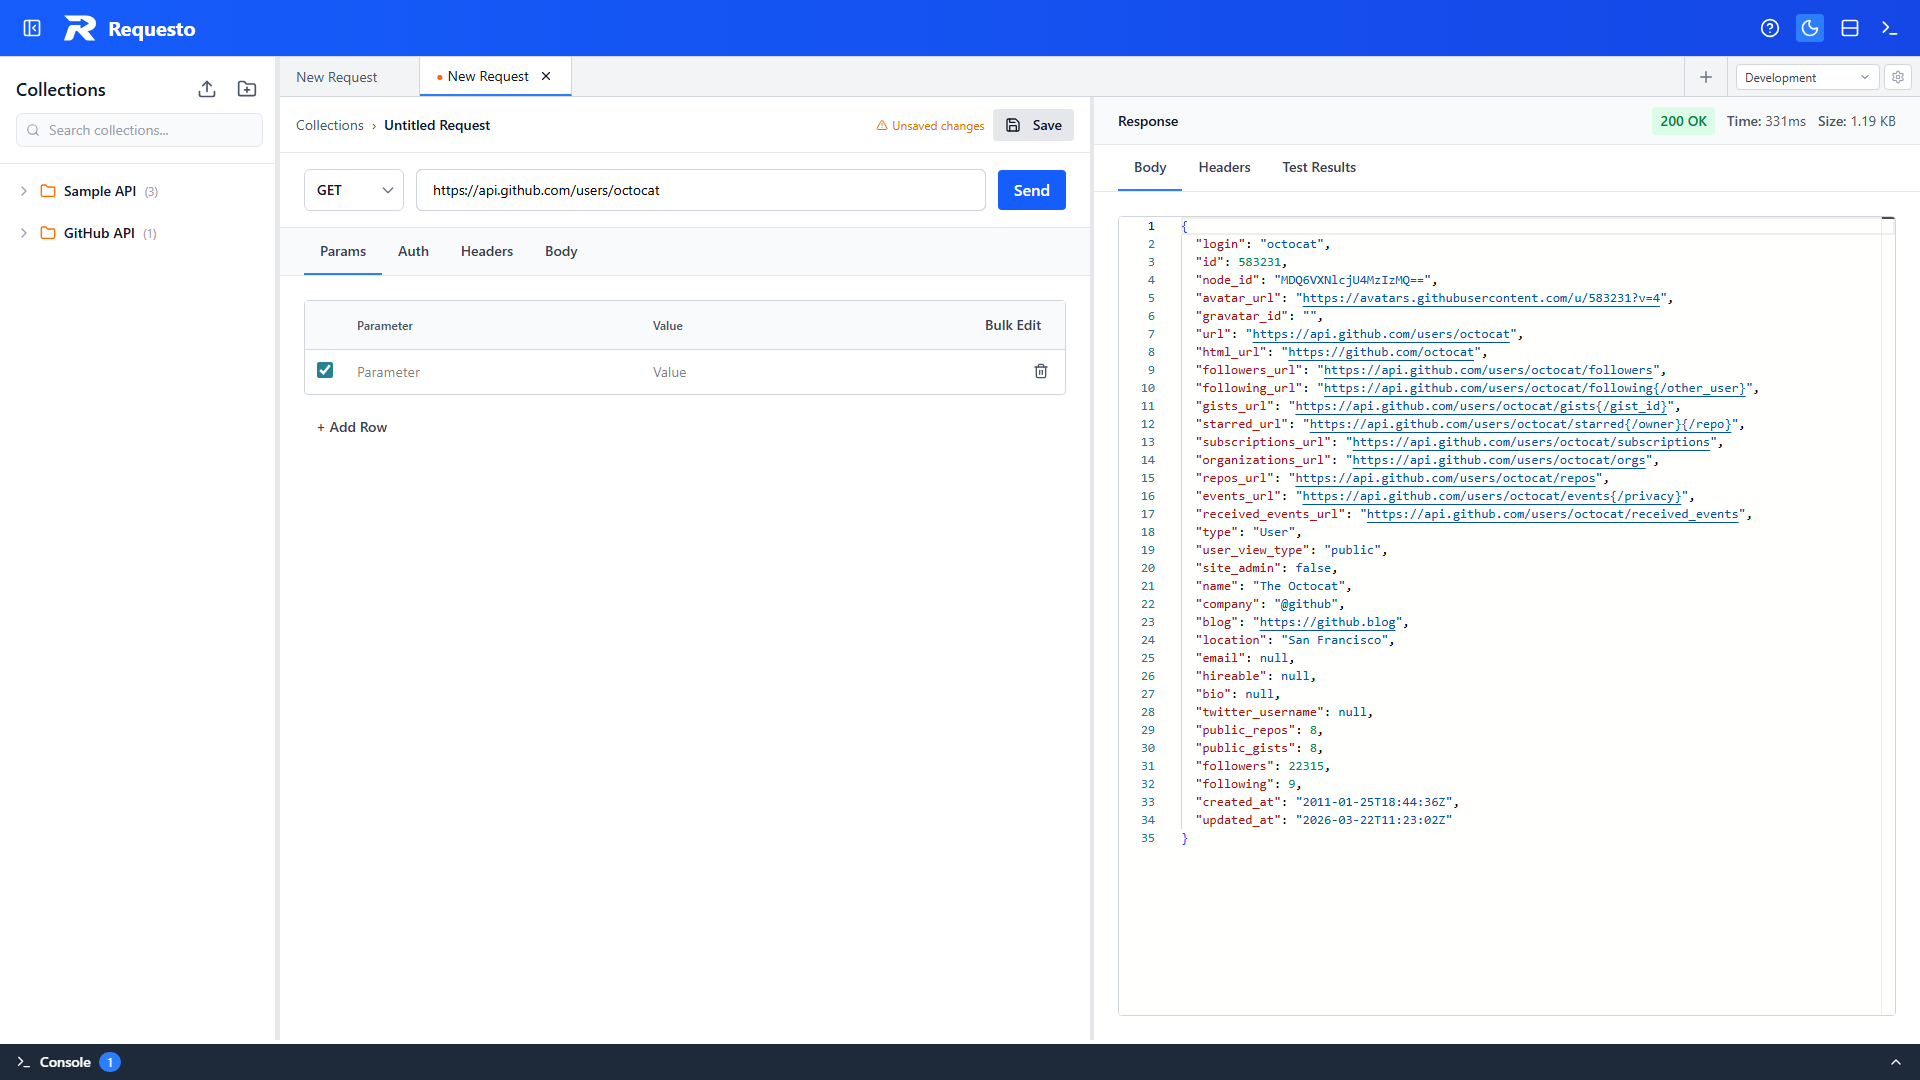
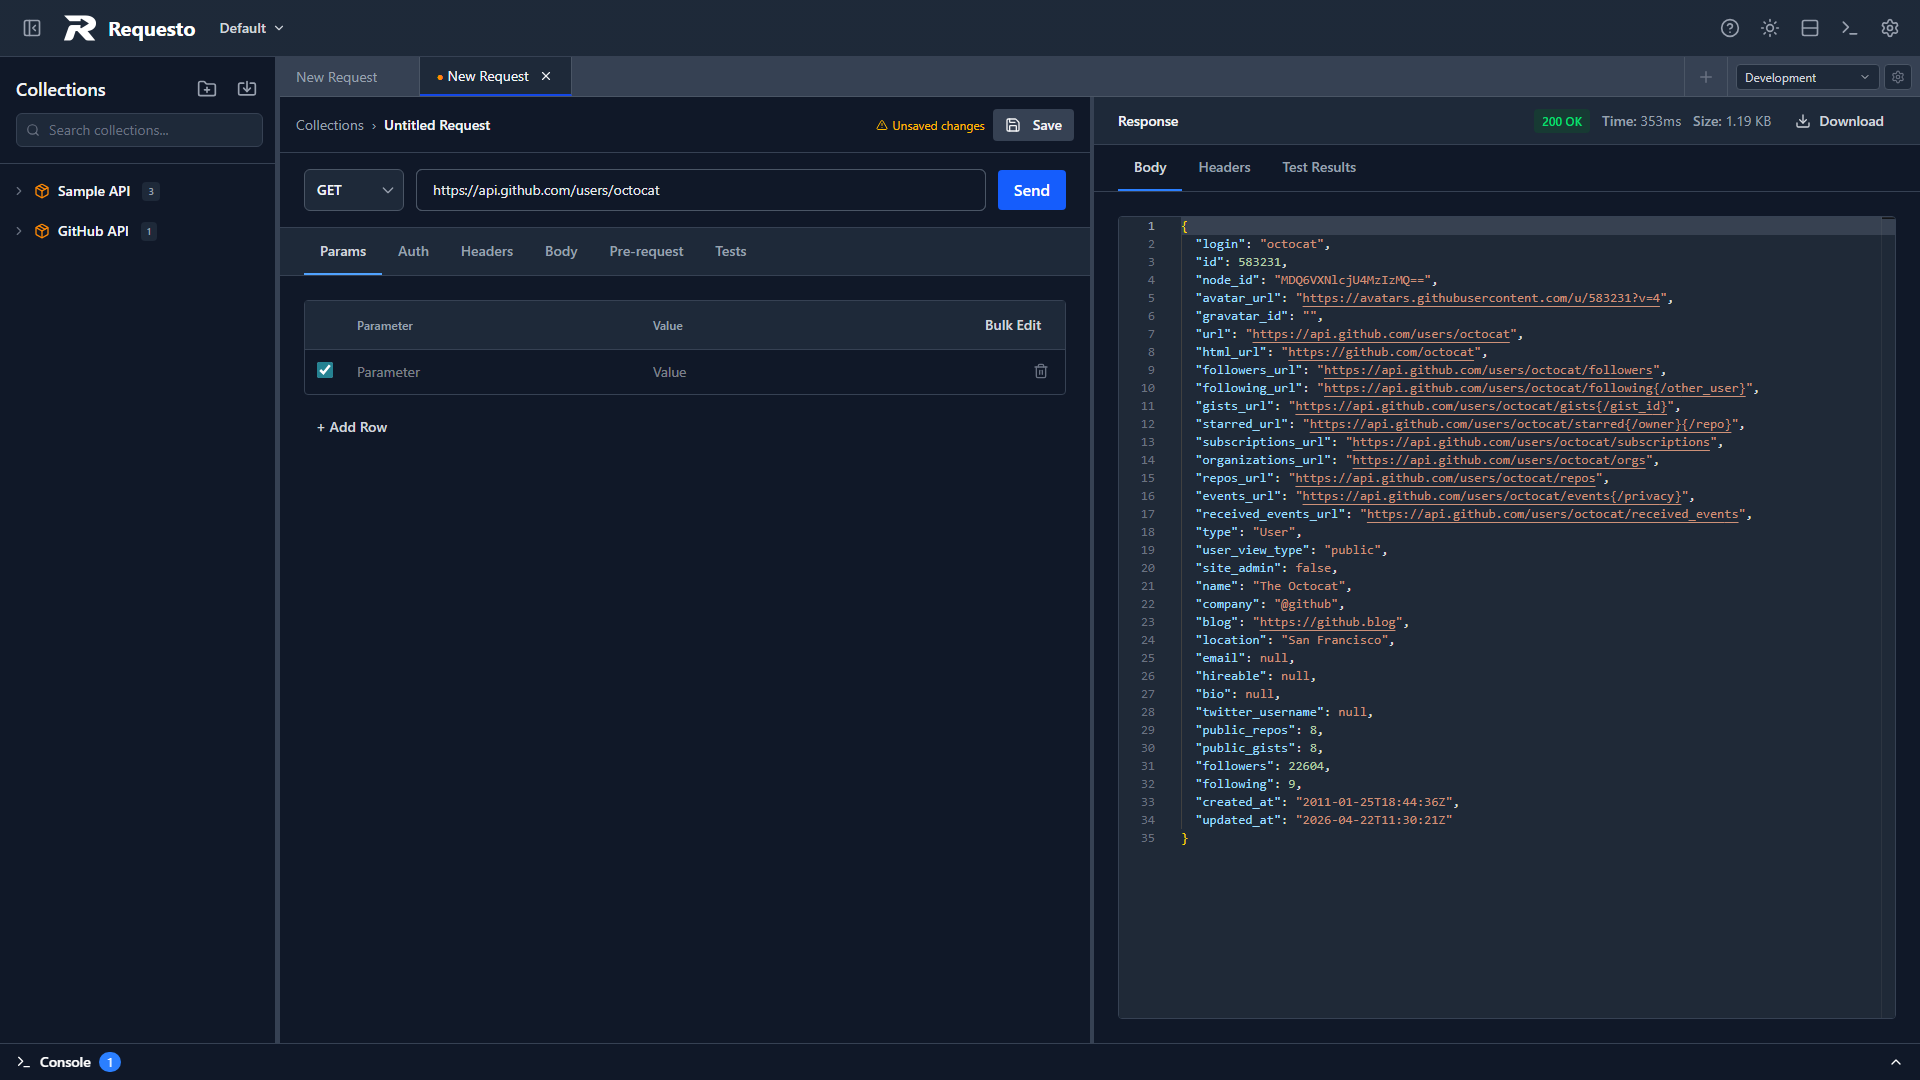
- Enter a URL in the address bar, e.g.
https://api.github.com/users/octocat - Pick an HTTP method from the dropdown (defaults to GET)
- Click Send
- The response appears in the right (or bottom) panel with status code, time, size, and formatted body
Save It to a Collection
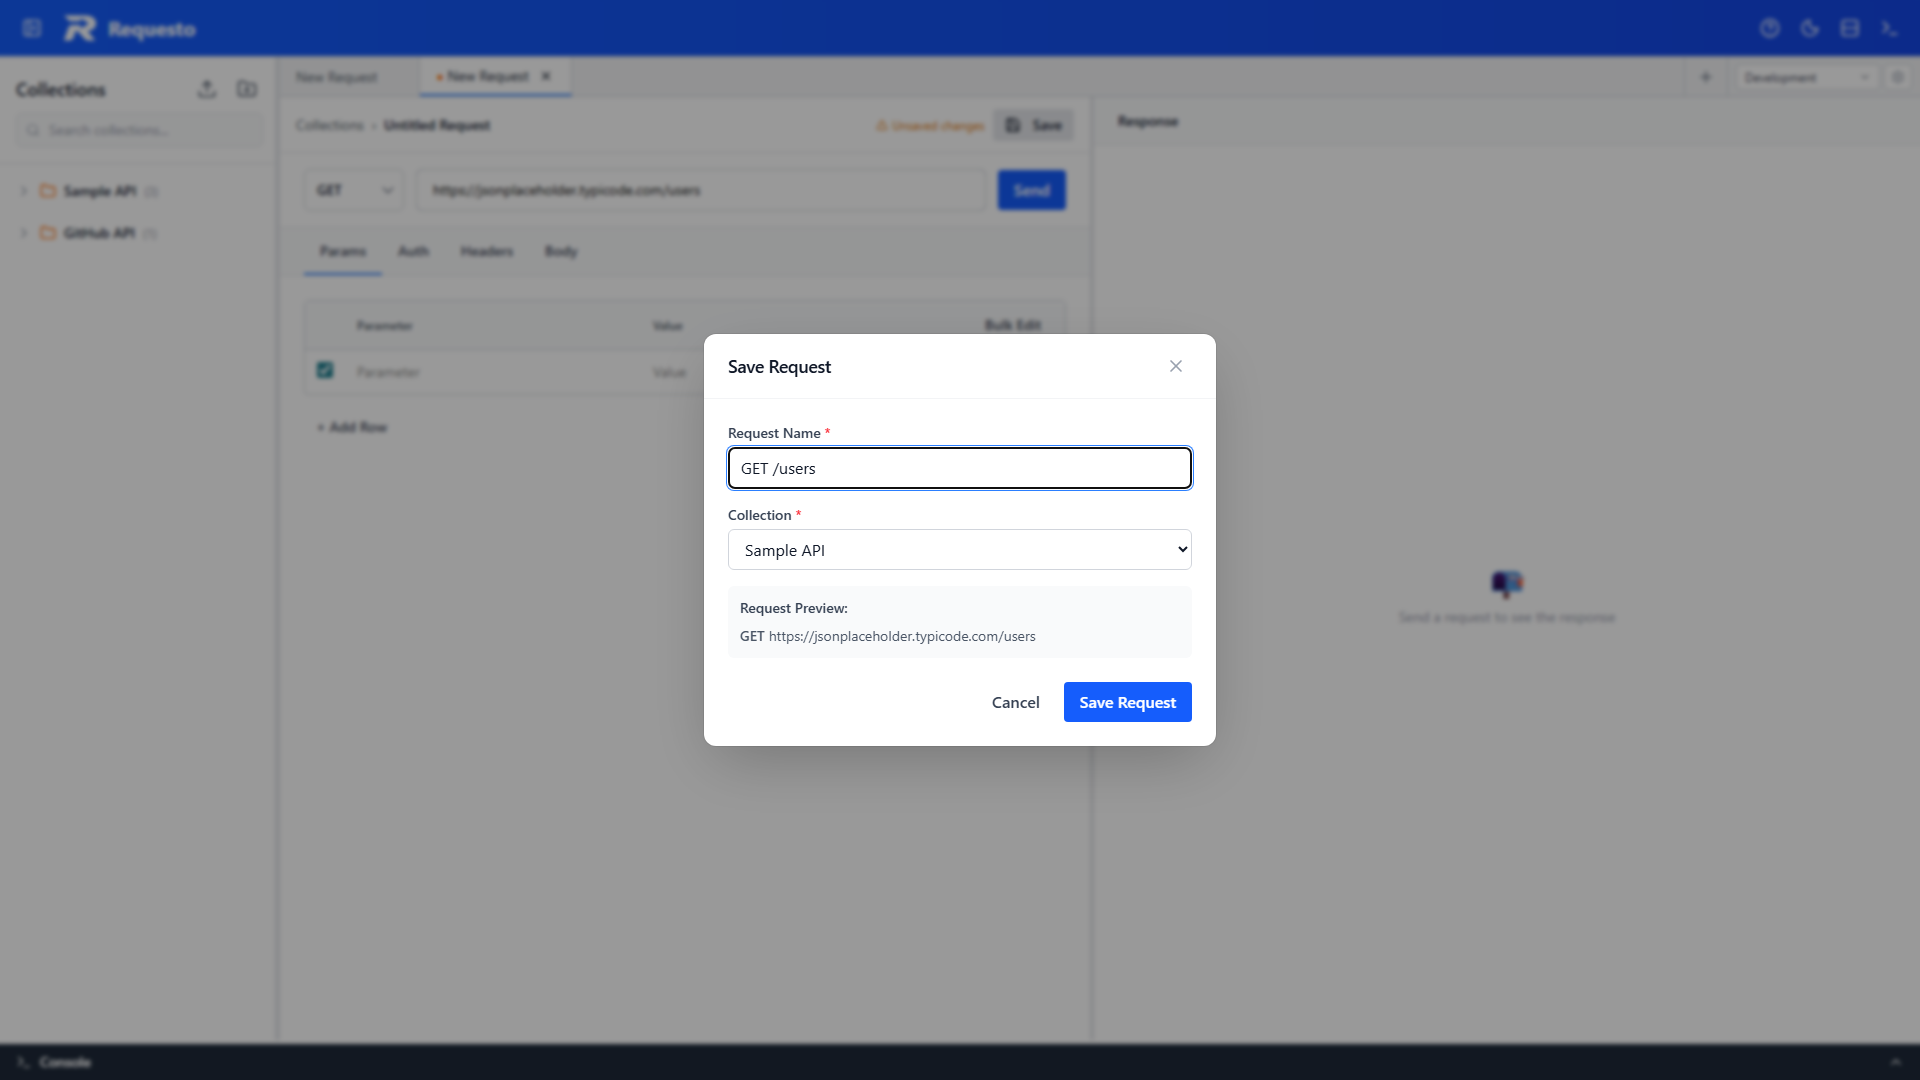
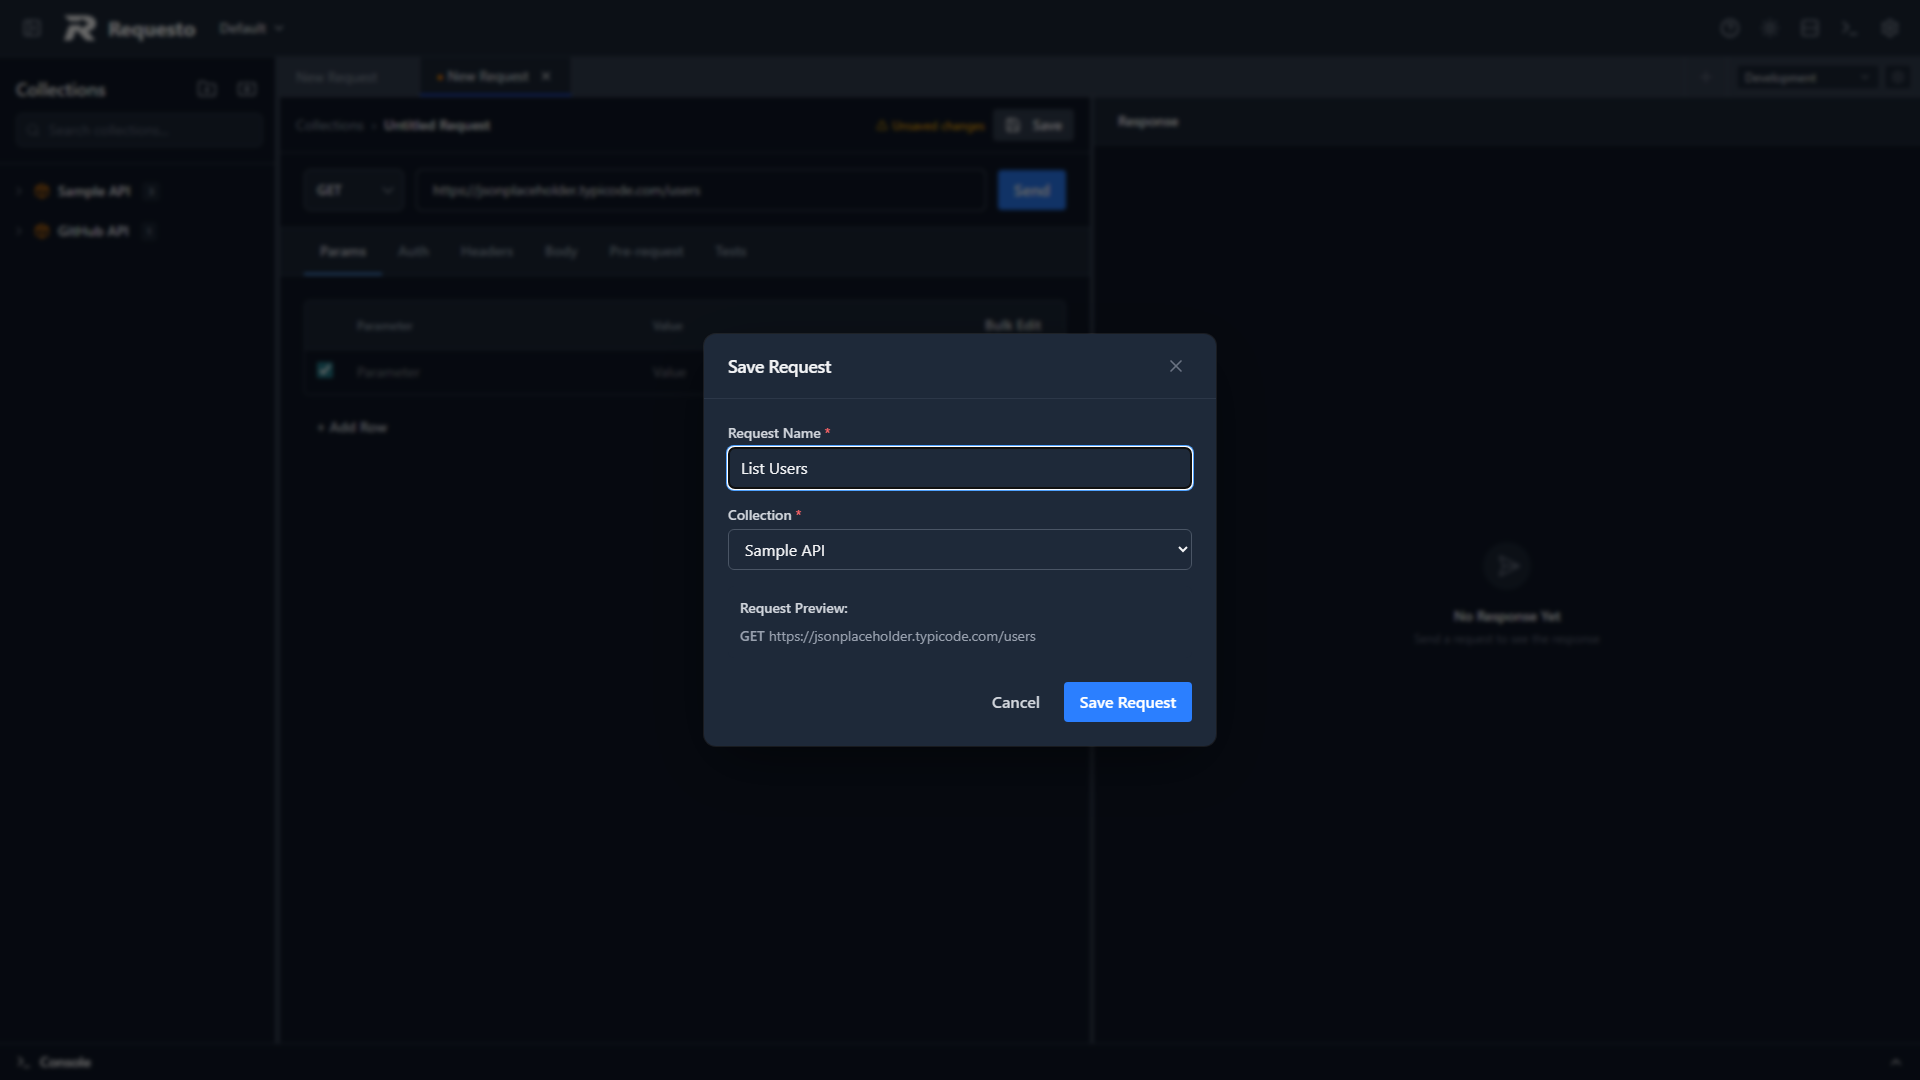
- Click Save
- Enter a name for the request
- Select a collection (or create a new one)
- Optionally choose a folder within the collection
- The request now appears in the sidebar - click it anytime to reopen
Set Up Environment Variables
Environments let you swap between configs (dev, staging, prod) without editing requests.
- Open the environment selector in the tabs bar and choose Manage Environments (gear icon)
- Create a new environment (e.g. "Development")
- Add variables as key-value pairs:
base_url→http://localhost:3000api_key→your-key-here
- Select the environment from the dropdown in the tabs bar
- Use variables in requests with
{{base_url}}syntax - they're substituted before sending
Variables work in URLs, headers, query parameters, request bodies, form-data entries, and auth fields.
Organize with Folders
Right-click a collection in the sidebar to create folders. Drag and drop requests between folders to reorganize.
My API
  Auth
    Login
    Refresh Token
  Users
    Get User
    Create User
Set Up OAuth 2.0
- Open a request's Auth tab and select OAuth 2.0
- Click New (or Manage → New Config) to open the configuration wizard
- Fill in your provider details (client ID, auth URL, token URL, etc.)
- Client secrets are stored server-side in the workspace's
.requesto/local/folder and never exposed to the browser - Click Authenticate to run the OAuth flow
- Select your saved config in any request's Auth tab
See OAuth 2.0 for the full guide.
Interface Layout
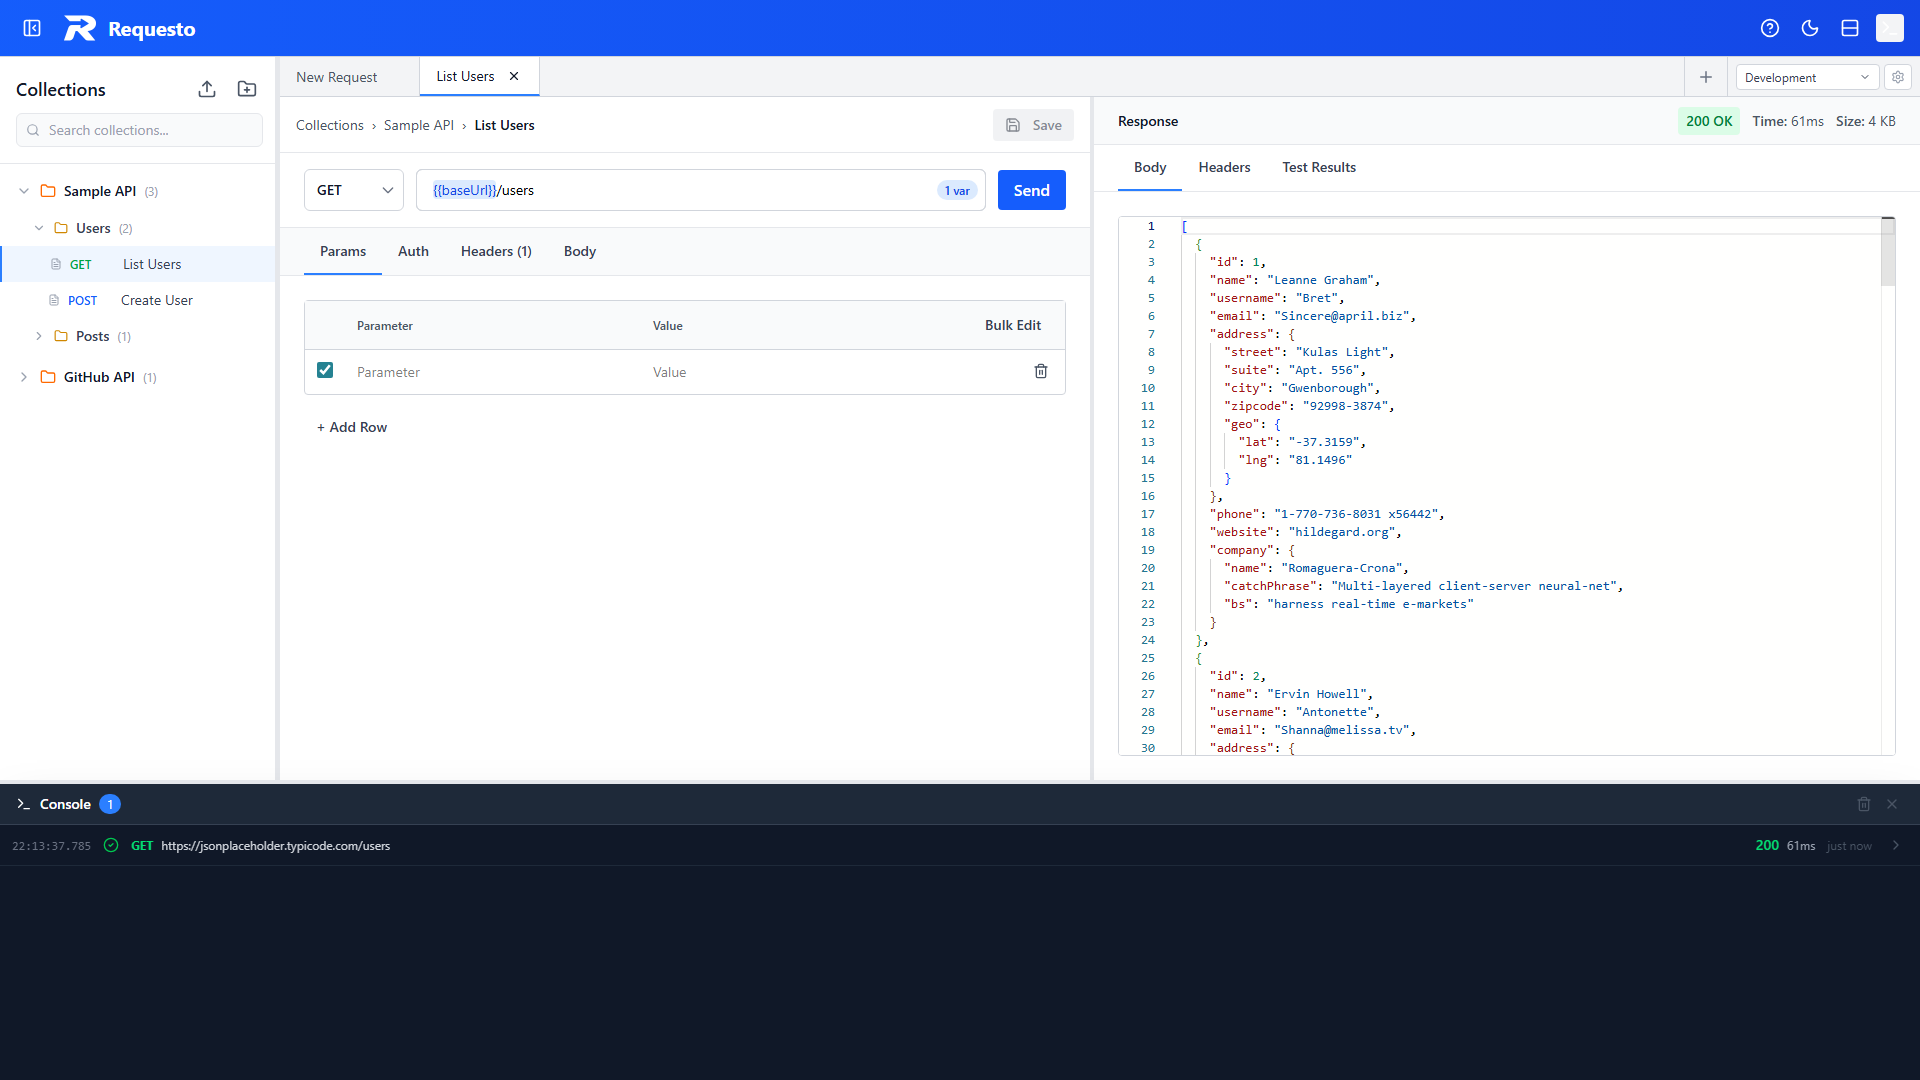
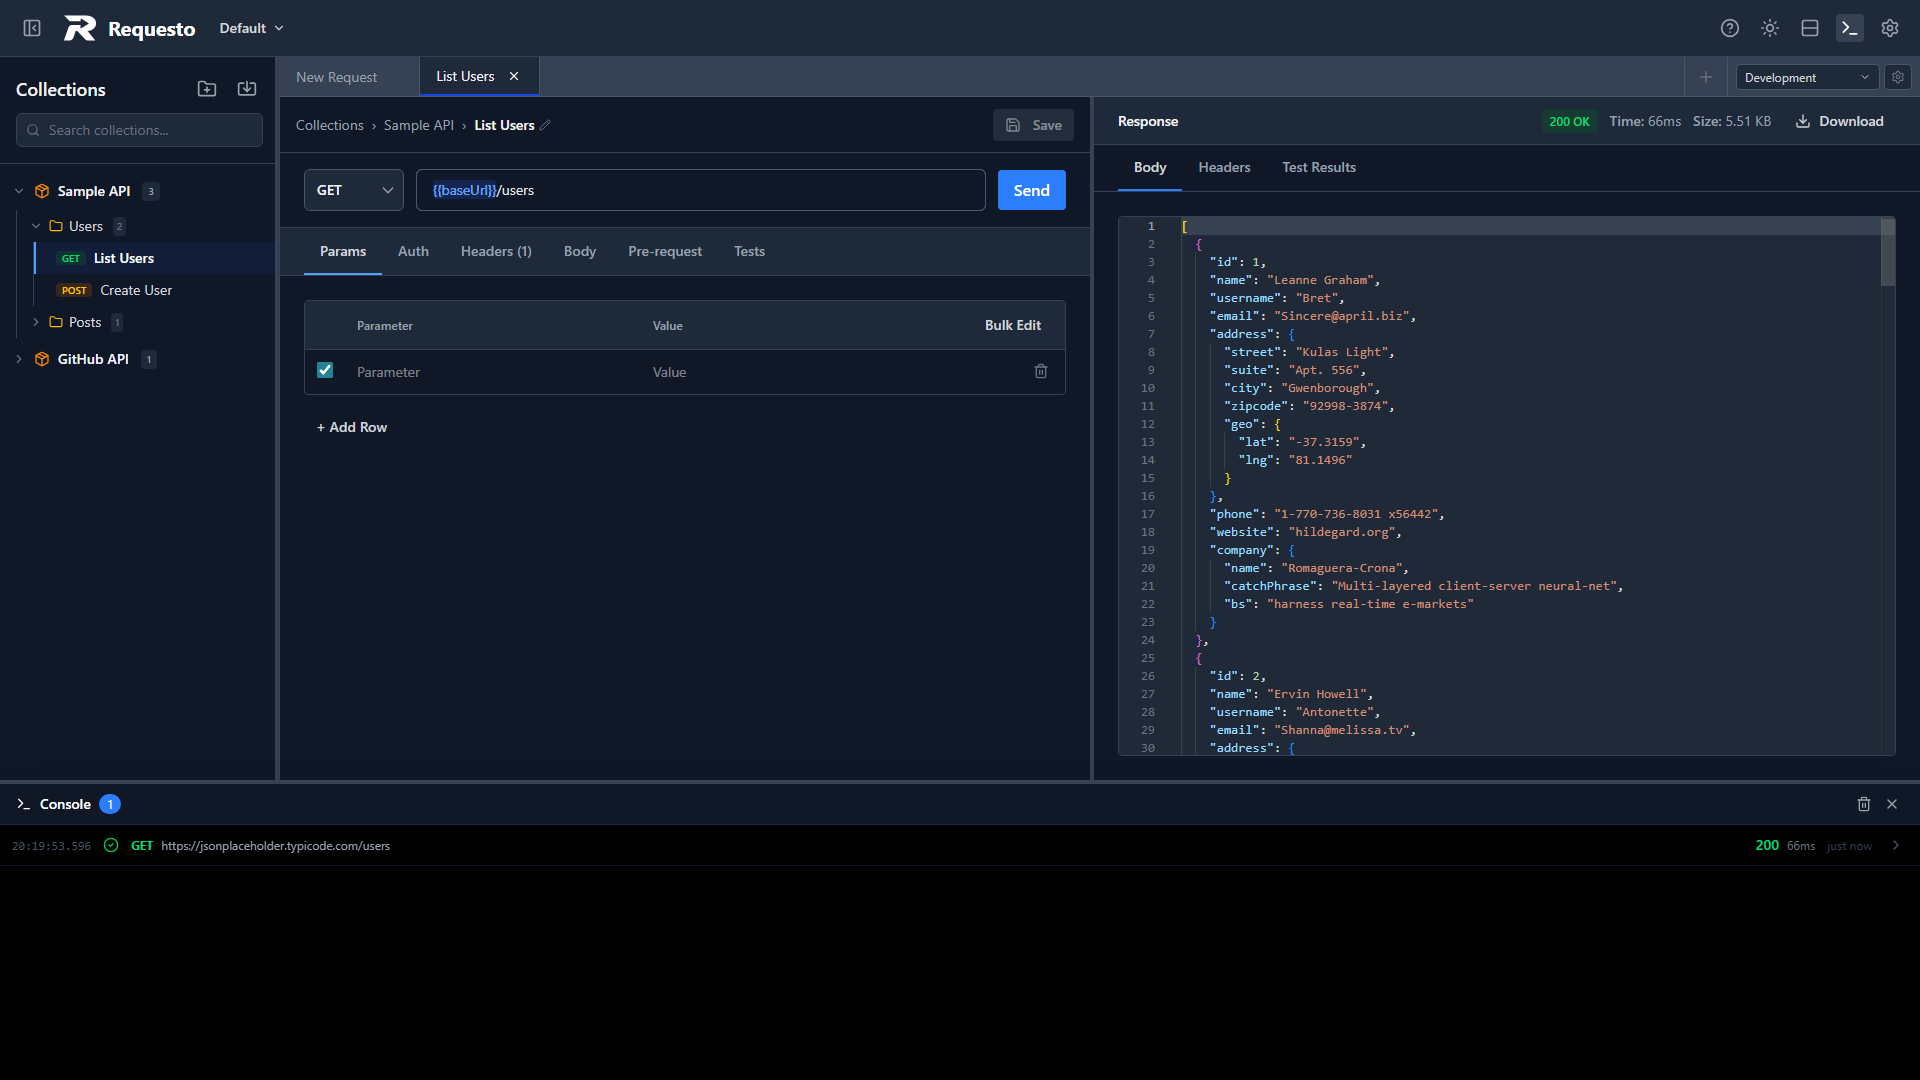
Header: Workspace switcher, a Collections / Mock Server switch, settings (gear icon), theme toggle, console toggle, layout toggle (horizontal/vertical split), sidebar toggle, update badge, and help. Collections and the Mock Server are the two main views.
Sidebar (left): Your collections, folders, and saved requests, plus an environments panel. Search box filters by name and URL.
Tabs bar: Open request tabs. An orange dot means unsaved changes. The environment selector (with its gear icon for managing environments) is here too.
Request panel: URL bar, method dropdown, and tabs for Params, Headers, Body (Monaco editor), Auth, Tests, and Pre-request Script.
Response panel: Status code, response time, size. Tabs for response Body (formatted), Headers, and Test Results.
Console panel (bottom, toggleable): Shows request/response logs grouped by request, with expandable details and copy-to-clipboard.